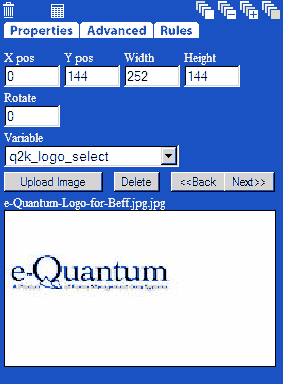
To upload a new image:
Step 1: Select Upload Image.
Step 2: Browse for the image file.
Step 3: Select Upload.
Step 4: Click Save and Exit to update the Image Viewer.
Once the image has finished uploading to the server, it will display in the Image Viewer. The designer can page through the images by clicking on the Next and Back buttons.
Selecting the Image tool and clicking in the workspace will insert the current image in the Image Viewer onto the Workspace. The selected image in the Workspace will display in the Image Viewer and the image properties (X pos, Y pos, Width, and Height) should be filled in to determine the desired position and size of the image.